The purpose of this recipe was to try out an amazing easy fondant recipe. Of course, you can't just make fondant; who would eat plain fondant?
What's this fondant thing I speak of? Oh! How rude of me for not explaining. You know how those cakes you see in bakeries are far more beautiful than anything you've ever been close to making? Well, they use this pliable frosting, aka fondant, to make make beautiful designs. I went through a phase about a year ago where I was obsessed with making beautiful cakes using fondant, and, well, failing. It really bummed me out. But then one day, I was just stumbling around and I found this recipe where all you really need is marshmallows and confectioner's sugar. Holy cow. That's all. And, even better, it worked. It worked so well.
You see, from time to time I find my mind wandering. If I have a pencil in hand, I'll down at my paper only to discover that some ghost has drawn a cupcake there. And the always look pretty similiar. So today, in experimenting with this miracle fondant, I decided to try my hand at making my drawings into reality. Here's one:
There were so much fun to make, and, two of my three siblings were home hanging out in the kitchen while I baked. How strange to have such a busy house again! I can't imagine how I spent 15 years with such a hectic household.
This recipe day is a two-for-one. The fondant, a prized recipe, is the focal point of this post, but I'll give you a cupcake recipe as well. Chocolate cupcakes with coffee buttercream frosting. Yummmmmm.
For the fondant:
This makes about a pound and a half, which is easily enough to cover one batch of cupcakes. I made a double batch.
Prep Time: 10 minutes
Cool Time: Ideally overnight
Ready the next morning (I let mine sit for about 4 hours and it seemed perfect)
8 ounces of mini marshmallows
1 tbls water
1 lb confectioner's sugar
Lots and lots of grease
You know just how sticky marshmallows are when they are melted. You HAVE to grease everything. Have to, have to. I never bake with Crisco, but I went out and bought some just for this. Grease grease grease. Grease yourself from head to toe.
Begin by placing your marshmallows in a greased microwaveable bowl and sprinkling with water.
 |
| A pound of marshmallows |
Heat at thirty second intervals, stirring in between, with a greased spatula, until they are entirely melted (about 2 or 3 minutes total).
 |
| Partially melted mallows |
Grease a mixing bowl, and mixing paddles. Dump in all the sugar and melted mallows into your mixer.
Mix until the mixer can mix no more.
 |
| After the mixer could mix no more |
Dump unto a greased surface and knead until smooth.
 |
| My pottery classes gone to good use- proper kneading technique |
Wrap up and store overnight in your refrigerator (or as long as you can.)
Phase 2 - cupcakes. As previously mentioned, these are chocolate based cupcakes with a coffee frosting and, of course, fondant decoration.
Oven Temp: 400 then 350 (to get a nice domed top)
Prep Time: 30 minutes
Bake Time: 18-20 minutes
Fondant Decorating Time: 30 minutes
Ready-In: 2 hours
Ingredients: Coffee Buttercream Frosting:
2 1/4 cups all-purpose flour 1 stick warmed up butter (slightly melted)
2 cups sugar 2 cups confectioner's sugar
3/4 cup unsweetened cocoa powder 1/4 strong brewed coffee
1 1/2 teaspoons baking soda
1 teaspoon baking powder
1/2 teaspoon salt
1 cup vegetable oil
1 cup strong brewed coffee, cooled
3 large eggs
1 cup sour cream
2 teaspoon vanilla extract
Mix together flour, sugar, cocoa powder, baking soda, baking powder and salt.
Pour in oil and cooled coffee. Mix.
Crack in the three eggs, sour cream, and vanilla and mix until combined.
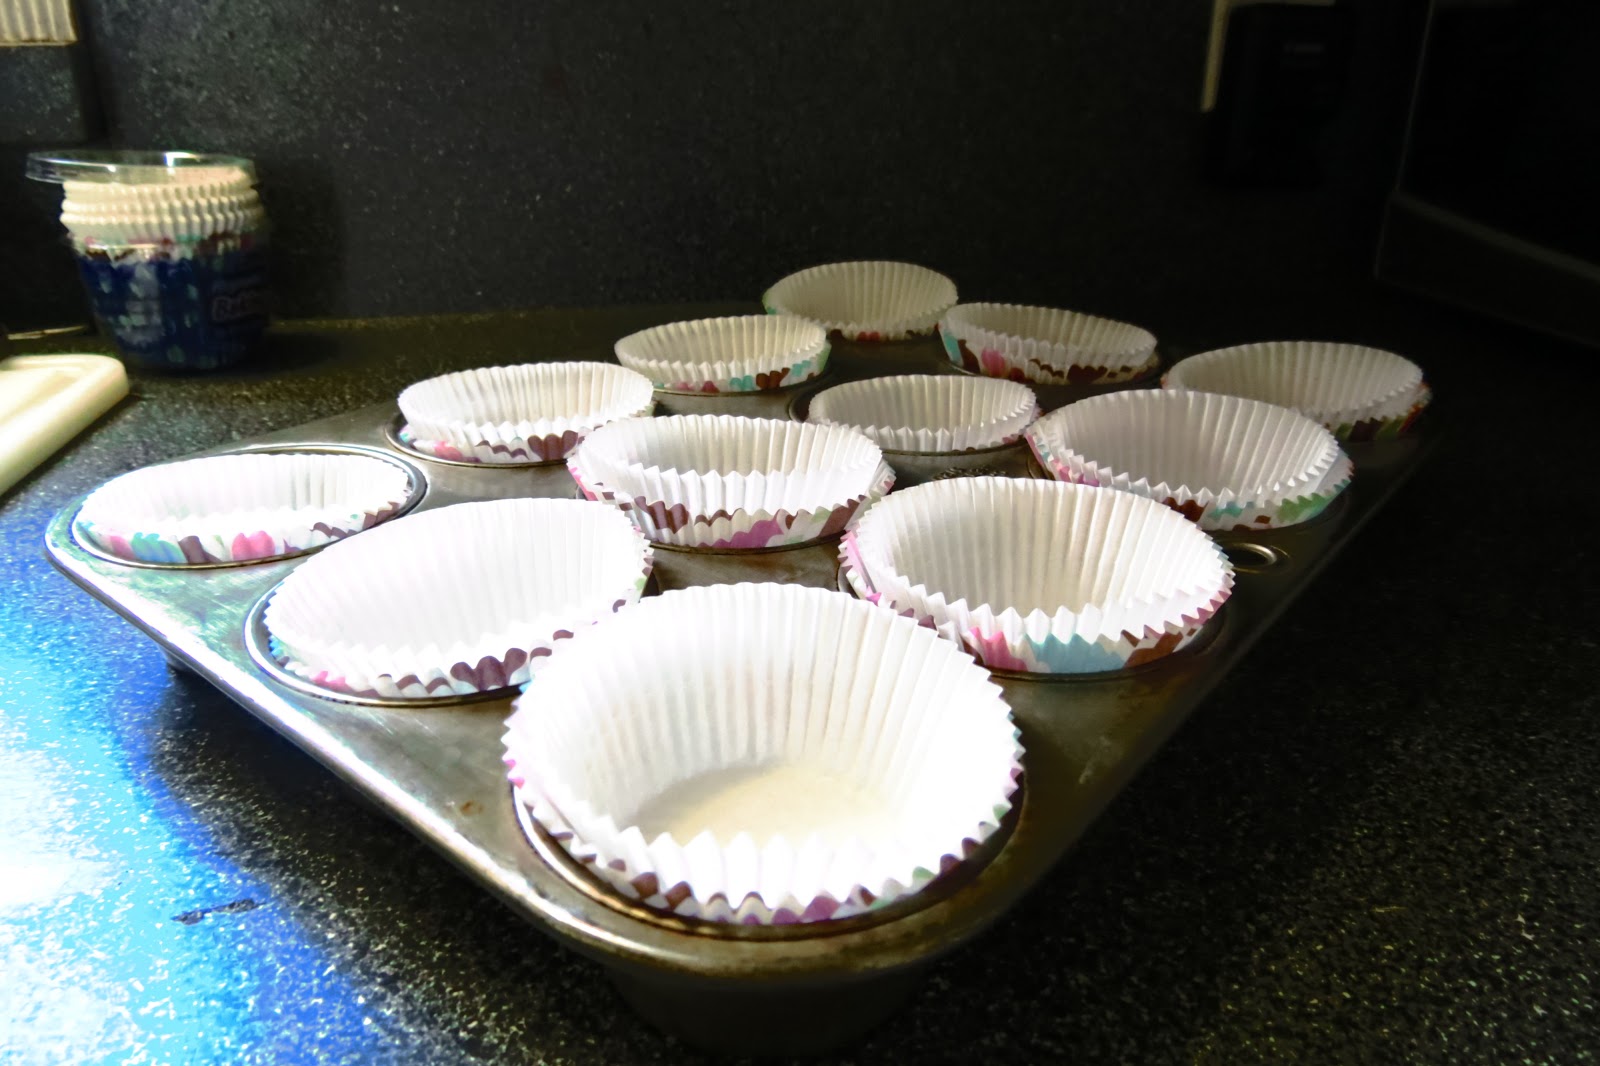
Preheat oven to 400 and line cupcake tins with wrappers, I went with a double layer because I love the design on the outside layer. With cupcakes this liquidy, if you don't want the liner to bleed, you should double layer.
Fill each liner 3/4 off the way up. Once you place cupcakes in the oven, lower temperature to 350 and bake for 15-20 minutes, until toothpicks come out clean.
In the meantime, you can being playing around with the fondant. I started by making mushrooms. I got the idea from the same place where I got the
fondant recipe.
To do so you begin by rolling the top, making a rounded triangular prism shape. Roll a layer of fondant around a toothpick, to make the stem and insert into the top. I rolled my tops in cocoa powder to give a light brown color. My brother painted a mushroom top red using food dye and left some white dots to make the classic poisonous mushroom. You can paint the surface of the fondant using food dye watered down, or dye a whole section one color by kneading the dye into the fondant, although it will dye your hands as well.
Before laying fondant on, I frosted each cupcake with coffee buttercream frosting. (Prepared just by mixing all the frosting ingredient together).
These were my visionary cupcakes. I rolled plain fondant out thinly, cut out the "frosting shape" by make a wavy circle. I dyed a large amount of fondant red and rolled into spheres for the cherry on top.
This is the creation of my siblings. My sister made a parsnip.
Chocolate cupcake with coffee buttercream frosting.