Monday, December 24, 2012

Big Kid Grilled Cheese

Oh goodness. I know what you're thinking - this girl promised to update every Sunday and there I was -checking every five minutes yesterday and no updates!
I'm sorry. I meant to make these incredible gruyere and mushroom stuffed croissants but it turned into a disaster. I had to remake the croissant dough and there was butter every where and when I finally got those darned things in the oven, they were no longer croissants. The flavor turned out well, but I would feel terrible posting a recipe that was so tricky to make. I'll have to go back and rework it. For the time being, I'm planning on posting a different recipe - a golden grilled cheese made, of course, with gruyere.

I've found when people use non-American cheese in grilled cheese, they tend to call it "Grown-Up Grilled Cheese". Well, I'm not an adult and I don't plan on becoming one any time soon. So there you have it.


With all the siblings home, there's a perpetual influx of cooking and baking happening. My older sister bakes almost daily, my brother made pulled pork last night, I made croissants, my dad received a dozen quality whoopie pies from work early in the week (I seriously mean quality - they come in flavors and each one is TWO servings- sadly, I'm the only one eating them....). I'd say we have too much food, but honestly, in my family, it seems like just the right amount.


1/2 small onion, chopped
Gruyere (or other "adult" cheese)
2 slices of bread
1 clove garlic, crushed
thinly sliced tomato (optional)
spinach (optional)
mayonnaise
mustard

Such a simple thing - the grilled cheese. Butter frying pan. Caramelize onions (cooking them on low heat until lightly brown).


The day they can capture smell through the interwebs....


Butter one side of one piece of toast. Place butter side down in frying pan. Layer with cheese.


Layer with the caramelized onions.


Layer of spinach.

  
Butter one side of the second piece of bread, put  mayonnaise and mustard on the other side. Place on sandwich with butter facing up to you. Flip sandwich and cook until golden brown and cheese is melted.


Sunday, December 16, 2012

Easy Fondant (And Chocolate Coffee Cupcakes)

The purpose of this recipe was to try out an amazing easy fondant recipe. Of course, you can't just make fondant; who would eat plain fondant?
What's this fondant thing I speak of? Oh! How rude of me for not explaining. You know how those cakes you see in bakeries are far more beautiful than anything you've ever been close to making? Well, they use this pliable frosting, aka fondant, to make make beautiful designs. I went through a phase about a year ago where I was obsessed with making beautiful cakes using fondant, and, well, failing. It really bummed me out. But then one day, I was just stumbling around and I found this recipe where all you really need is marshmallows and confectioner's sugar. Holy cow. That's all. And, even better, it worked. It worked so well.
You see, from time to time I find my mind wandering. If I have a pencil in hand, I'll down at my paper only to discover that some ghost has drawn a cupcake there. And the always look pretty similiar. So today, in experimenting with this miracle fondant, I decided to try my hand at making my drawings into reality. Here's one: 


There were so much fun to make, and, two of my three siblings were home hanging out in the kitchen while I baked. How strange to have such a busy house again! I can't imagine how I spent 15 years with such a hectic household.
This recipe day is a two-for-one. The fondant, a prized recipe, is the focal point of this post, but I'll give you a cupcake recipe as well. Chocolate cupcakes with coffee buttercream frosting. Yummmmmm.

For the fondant:
This makes about a pound and a half, which is easily enough to cover one batch of cupcakes. I made a double batch.

Prep Time: 10 minutes
Cool Time: Ideally overnight
Ready the next morning (I let mine sit for about 4 hours and it seemed perfect)

8 ounces of mini marshmallows
1 tbls water
1 lb confectioner's sugar
Lots and lots of grease

You know just how sticky marshmallows are when they are melted. You HAVE to grease everything. Have to, have to. I never bake with Crisco, but I went out and bought some just for this. Grease grease grease. Grease yourself from head to toe. 

Begin by placing your marshmallows in a greased microwaveable bowl and sprinkling with water. 


A pound of marshmallows

Heat at thirty second intervals, stirring in between, with a greased spatula, until they are entirely melted (about 2 or 3 minutes total).

Partially melted mallows
Grease a mixing bowl, and mixing paddles. Dump in all the sugar and melted mallows into your mixer.


Mix until the mixer can mix no more.

After the mixer could mix no more
Dump unto a greased surface and knead until smooth.

My pottery classes gone to good use- proper kneading technique

Wrap up and store overnight in your refrigerator (or as long as you can.)

Phase 2 - cupcakes. As previously mentioned, these are chocolate based cupcakes with a coffee frosting and, of course, fondant decoration.


Oven Temp: 400 then 350 (to get a nice domed top)
Prep Time: 30 minutes
Bake Time: 18-20 minutes
Fondant Decorating Time: 30 minutes
Ready-In: 2 hours

Ingredients:                                                                           Coffee Buttercream Frosting:
2 1/4 cups all-purpose flour                               1 stick warmed up butter (slightly melted)
2 cups sugar                                                                          2 cups confectioner's sugar
3/4 cup unsweetened cocoa powder                                     1/4 strong brewed coffee
1 1/2 teaspoons baking soda
1 teaspoon baking powder
1/2 teaspoon salt
1 cup vegetable oil
1 cup strong brewed coffee, cooled
3 large eggs
1 cup sour cream
2 teaspoon vanilla extract 

Mix together flour, sugar, cocoa powder, baking soda, baking powder and salt.


Pour in oil and cooled coffee. Mix.


Crack in the three eggs, sour cream, and vanilla and mix until combined.


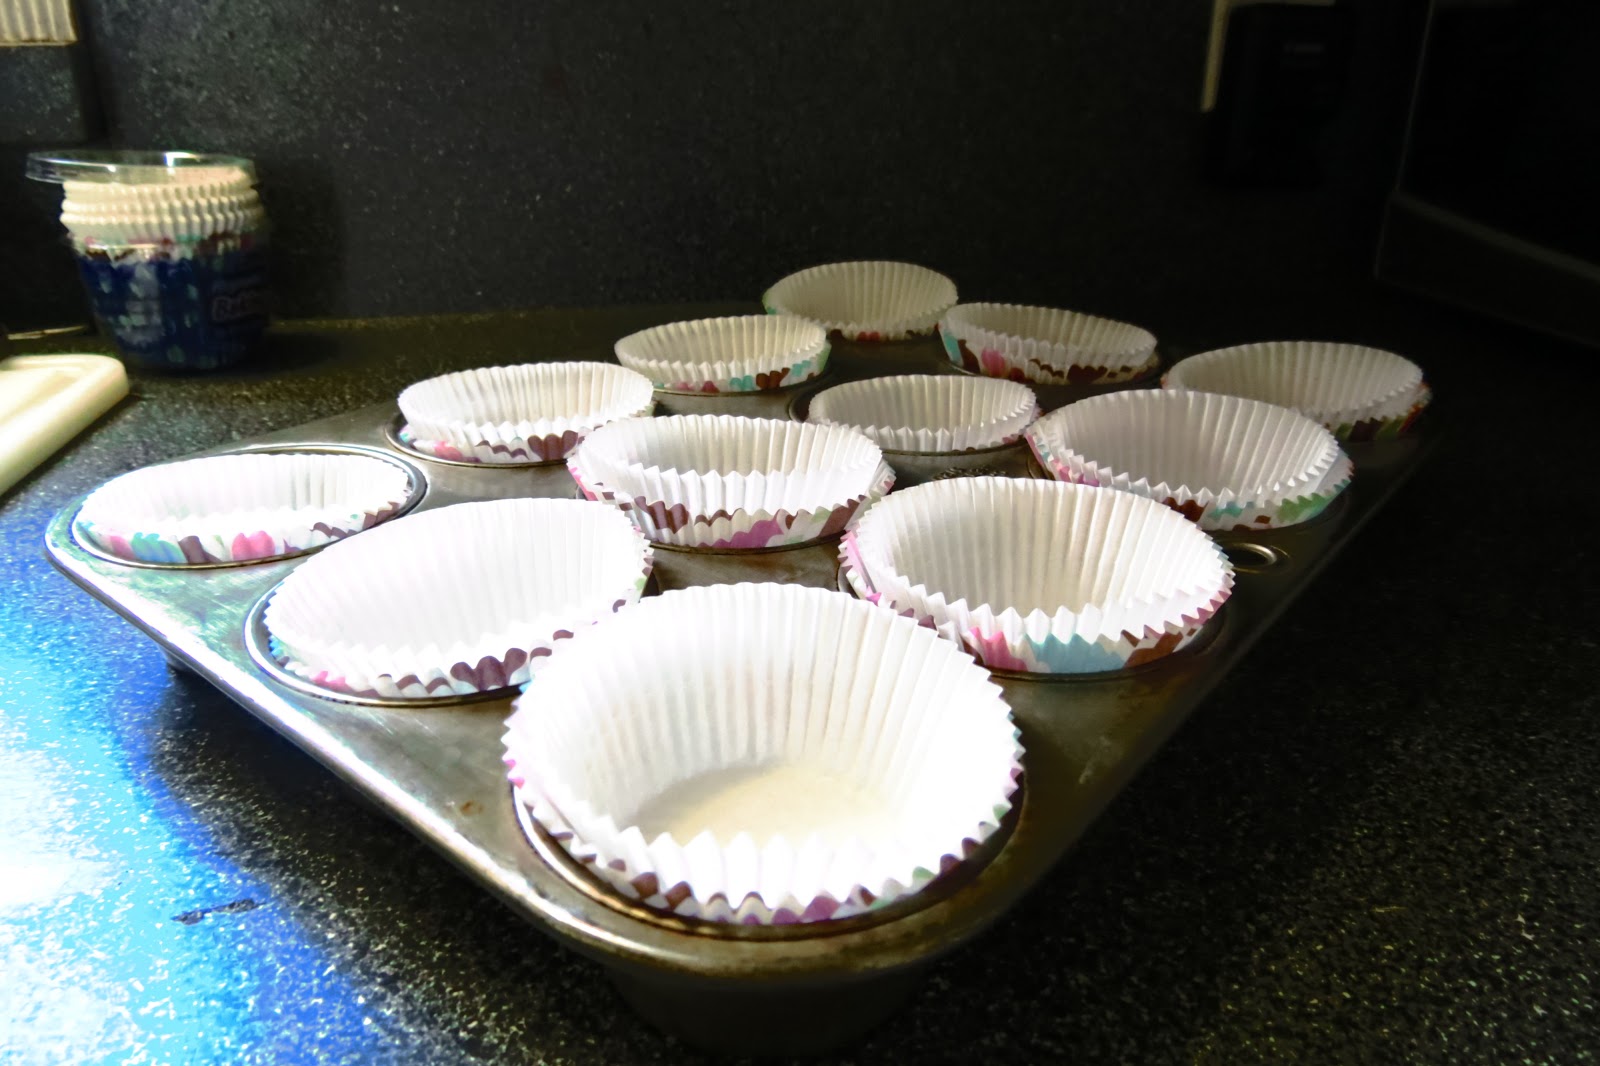
Preheat oven to 400 and line cupcake tins with wrappers, I went with a double layer because I love the design on the outside layer. With cupcakes this liquidy, if you don't want the liner to bleed, you should double layer.


Fill each liner 3/4 off the way up. Once you place cupcakes in the oven, lower temperature to 350 and bake for 15-20 minutes, until toothpicks come out clean.


In the meantime, you can being playing around with the fondant. I started by making mushrooms. I got the idea from the same place where I got the fondant recipe.
To do so you begin by rolling the top, making a rounded triangular prism shape. Roll a layer of fondant around a toothpick, to make the stem and insert into the top. I rolled my tops in cocoa powder to give a light brown color. My brother painted a mushroom top red using food dye and left some white dots to make the classic poisonous mushroom. You can paint the surface of the fondant using food dye watered down, or dye a whole section one color by kneading the dye into the fondant, although it will dye your hands as well.


Before laying fondant on, I frosted each cupcake with coffee buttercream frosting. (Prepared just by mixing all the frosting ingredient together).


These were my visionary cupcakes. I rolled plain fondant out thinly, cut out the "frosting shape" by make a wavy circle. I dyed a large amount of fondant red and rolled into spheres for the cherry on top.


This is the creation of my siblings. My sister made a parsnip.


Chocolate cupcake with coffee buttercream frosting.


Sunday, December 9, 2012

Steak and Potato Personal Pies

Personal pasty sounds so cute. Petite pies are one of my absolute favorite foods- what is more delicious than a single-serving pie? Especially when there is steak involved. Mmmmmmmmm. 


When my siblings and I were little, we used to go to a Medieval Fair in New Hampshire every year. It was an incredible event. People were dressed up wearing poofy gowns and suits of armor. There was a man (an employee, I'm hoping) who walked around just covered in mud and stinking to high heavens. There were little shops, each in a tiny tent selling things like bow and arrows and swords. There was a jousting tournament and games and even a camel ride, although I'm still a little confused how that got thrown in there. And the food. Oh my. They sold individual pasties. The fair always seemed to arrive at the hottest part of the year, and we'd get grumpy after hours of wandering around with little water and no food, but the pasty seller was always there to save us. 
Imagine if people still solved problems by doing this...
Sometimes I worry that when I'm older and trying to remember my childhood, I'll think back to a time when I was snarfing down a pasty as I weaved through a crowd of knights, ladies and jesters and I'll forget what time period I'm from. My grandkids will hear stories of my adventures at that fair and tell their friends that Grandma is several hundred years old. 
In other news, happy second night of Hannukah! I'm writing this by menorah-light. Living in the dark ages. Ahhhh! No! I'm not! I live in modern times! Gosh, I need to stop this.
Well. Where were we? Oh yes, personal pies.


Oven Temp: 350
Prep Time: 1 hour labor, 2.5 hours cooling
Bake Time: 1 hour
Ready-In: 4.5 hours

Just as so many other recipes have begun - let's start with the pie crust:


2 1/2 cup flour
1 tsp salt
1 stick butter (1/2 cup), chilled
1/2 cup veggie shortening, chilled (I use Smartbalance)
1/2 and 1/4 cup water, chilled

Filling:
2 tbls veggie oil
Chef Eliana
8-10 ounces of steak, in 1/4 inch cubes
1 small onion, chopped finely
2 tbls flour
1 1/2 cups chicken broth
2 medium potatoes, peeled and chopped into 1/4 inch cubes
1 carrot, peeled and chopped into 1/4 inch cubes
1 tbls basil
1 tsp sage
1/2 cup cheddar, grated (optional)
1 egg beaten with 1 tbls water (to brush over pies)


Begin by making the dough.
Cut butter and shortening into salt and flour until it forms a loose dough.

Okay...don't cut it like this.

If you squeeze a handful it should hold for a second and then crumble. Pour in 1/2 cup of water and knead. If still loose, add in one tablespoon of water at a time until it tightens up. It should be very soft and fluffy feeling but able to hold together nicely. Flatten into a disc, wrap and put in fridge for 2 hours, and up to 3 days.
In the meantime, you can make the meat mixture.

Prep involves lots and lots of chopping

It will need to simmer for about 2 hours, so be mindful of that. Heat up the veggie oil in a pan over medium heat. Sear the meat on both sides until they are crusty brown (about 4 minutes per side).


Remove steak. Put onions in pan, saute them until they are well browned.


Put meat back in and sprinkle flour over the top. Pour in the chicken stock and mix. Let simmer for about 90 minutes, stirring once in a while. Add in potatoes, carrot, salt, pepper, sage and basil. Let simmer for another 30 minutes. Remove from stove, place in bowl to let cool.
At this point, the dough should be ready. Preheat over to 350. Divide the dough into 6 balls. Roll each out into a circle or square.


Spoon out meat mixture on to one half of each pie. Layer some cheese. Fold the clean pie side over and pinch edges with a fork. Lay out on baking sheet.


Paint with a thin layer of egg. Bake for 1 hour, switching the sheets half way.


These hold up pretty well for a couple days after they are made.


Sunday, December 2, 2012

Mandelbrot (Jewish Biscotti)

My best friend is Italian. I'm Jewish. Needless to say our relationship is entirely built on a shared love of food. Yet, all of our worst arguments are squabbles over taste preference and priorities. He finds my lack of interest in pasta sauce to be insulting, my addiction to chocolate frightening and my indifference to pizza outright revolting. And I argue that it's not that I DON'T like pasta sauce, I just hate to glob it on. And chocolate is the perfect palate cleanser. And I do like pizza from time to time, I just never crave it, gosh darn it.
In fact, no matter what, our conversations always seem to digress into rants about the college search process, our discrepancies in food preference and how much he hates cold (I'm pro-winter). Yesterday was a busy day in the Zimmerhouse. With finals week quickly approaching, my father and were using the kitchen like nobody's business. My dad found this recipe in the King Arthur's cookbook. It seemed perfect. Some classic Italian with a Jewish twist. The perfect cookie to appease both me and my friend. It's pretty cool - you get to double bake them. It made me feel super professional and advanced, even though it was a VERY simple recipe. 


If you look carefully, you can see the FOUR different kinds of cookies that were baked yesterday
With snow finally falling on the ground, many a mind turns toward the perpetual hope in a snow day. Luckily, my sister and had something even more wintery to look forward - an annual Hot Chocolate 5K. Having only done it once in the past 4 years, and my time 10 minutes slower than I run these days, I had no expectations. So, she and I decided to dress up and make it a fun run.


Prep Time: 25 minutes
Bake Time: 28 then 25 minutes
Oven Temp: 350 then 300
Total Time: 4 hours and 30 minutes

3 large eggs
1 cup vegetable oil
1 cup sugar
1 teaspoon vanilla extract 
1 teaspoon salt
3 1/2 cups flour
1 teaspoon baking powder 
2 cups chocolate chips

1 cup toffee chips*

*These can be found in the chocolate chip section of your grocery store - I used the Heath brand

 Beat together the eggs, oil, sugar, vanilla, and salt at medium-high speed until thickened and light-colored, about 5 minutes.
Beat in the flour and baking powder.
Mix in the chips. Cover and refrigerate for 3 hours, or overnight. Preheat the oven to 350°F. Lightly grease (or line with parchment) two baking sheets.
Divide the dough into four even pieces, about 13 ounces each if you have a scale.
Working with one piece at a time, place the dough on the prepared baking sheet, shaping it into an 8" x 2" log. Repeat with the remaining pieces of dough, leaving at least 2" between them; you'll put 2 logs on each baking sheet.
Sprinkle the logs heavily with coarse white sugar, if desired.
Bake the logs for about 28 to 30 minutes, until they're set and beginning to brown and the edges and sides, but not brown all over. Remove them from the oven, and reduce the oven temperature to 300°F.  Allow them to cool for 10 minutes.
Cut each log into 1/2" to 3/4" slices. Cutting them on the diagonal will make the mandelbrot longer; cutting them crosswise will yield shorter cookies.

Place the pieces on edge, quite close together, on the baking sheets, and return them to the oven.
Bake for an additional 35 to 45 minutes, until a cookie feels baked through when you pinch it between your fingers. You'll also notice some browning around the edges, though the cookie shouldn't be browning all over. The point is simply to bake them all the way through.
Remove from the oven, and cool the mandelbrot right on the baking sheets.